
What is Webform?
Webform provides a way to create custom forms to collect data from the public or from your staff. Using Webform, you can specify both existing fields already in your database and you can create temporary fields just for data collection in your particular form.
Should I use Webform?
Webform is not part of Powerbase/CiviCRM. It's an external feature that has been modified to work with Powerbase/CiviCRM. Instead of using Webform, please consider using the form builder (aka afform) that is part of Powerbase/CiviCRM core.
While generally we encourage the use of Form Builder instead of Webform, there are some specific reasons why you may need to use Webform:
- You already have your form built in Webform. Please continue using webform! We are not yet ready to migrate forms from Webform to Form Builder.
- All of your forms are already in Webform and your staff has been trained to build them. Please continue using webform! Once Form Builder is feature compatible we will begin training folks on how to make the transition. But for now, you should continue using webform
- You need email notifications. Form builder cannot set email notifications when a form is submitted. If you need this feature, please use webform
- You need to collect data that should not be stored in Powerbase. Currently, Form builder can only collect data linked to existing fields in your database. If you need to create data that will not be stored in Powerbase, please use Webform.
How do I use Webform?
Navigating there
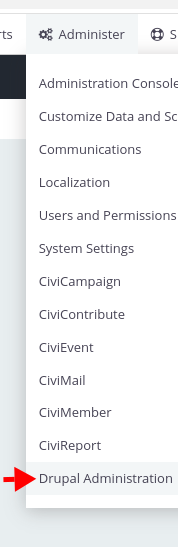
Since Webform is not a Powerbase feature, you have to get there via the "Drupal Administration" link in your "Administer" menu.
Then, click Structure -> Webforms. You should see a list of existing Webforms and an "Add Webform" button.
Creating a new webform
After clicking the "Add Webform" button, you will see a form like the following:
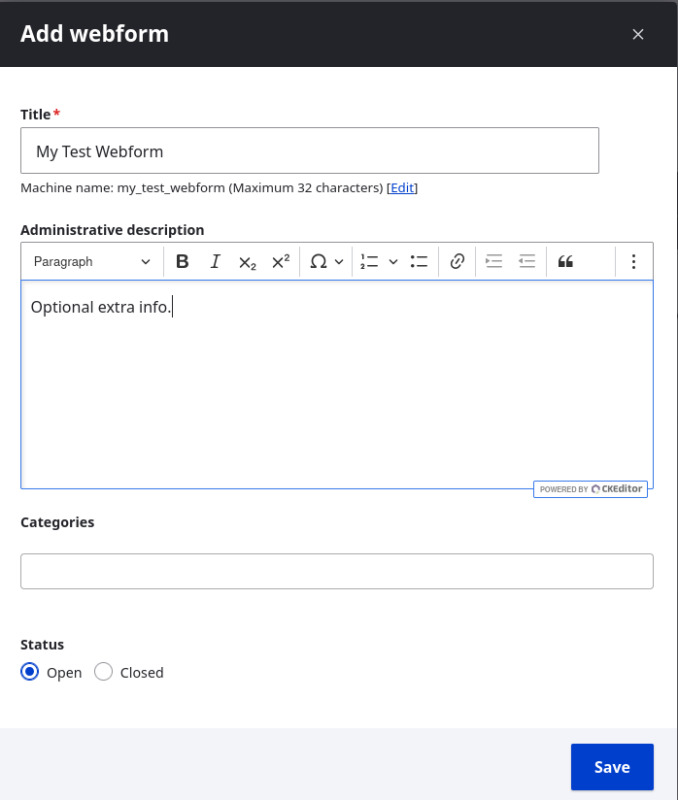
Enter your webform title, and optionally a description and category and click Save.
Building your webform
When in edit mode, you will see a set of tabs that control what part of the webform you are editing:
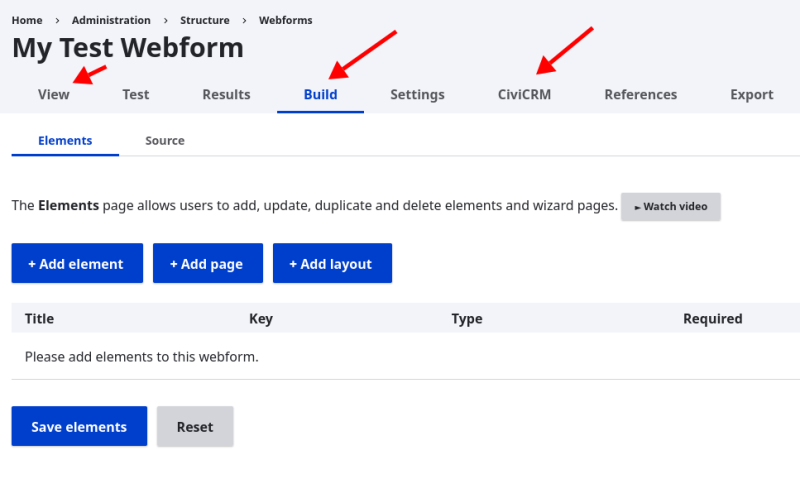
The three most common tabs are:
- View: Use this tab to view how your webform will look to people filling it out.
- CiviCRM: Use this tab to select which of your CiviCRM fields will be displayed on the form. When a CiviCRM field is displayed and data entered into that field is automatically copied into your Powerbase database.
- Build: Allows you to create fields that will not be stored in Powerbase and allows you to customize any field, making them required, setting default values, etc.
Adding Powerbase/CiviCRM fields
Click the "CiviCRM" tab to add fields to your form from you Powerbase database.
Note: If you want to save data from your webform to Powerbase, you must first ensure that the data you want to save has a corresponding field in Powerbase. If not, you will need to first add the field as a Custom Data field in Powerbase.
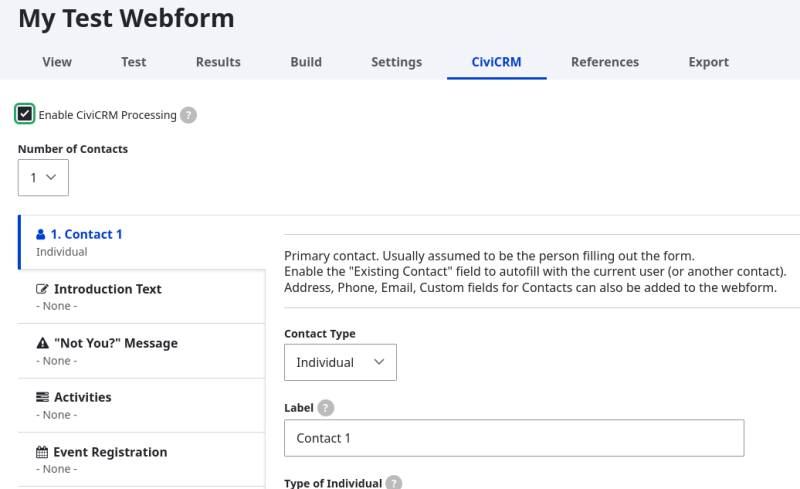
On the CiviCRM tab, first check the box indicating that you want to add CiviCRM fields.
Next, choose which entities you want to add (e.g. Contacts, Activities, etc). For each entity, you can drill down and choose exactly which fields you would like.
When you have selected all the fields you want, click "Save Settings".
Changing field settings
Once you have saved some fields, you can click the "Build" tab to make changes.
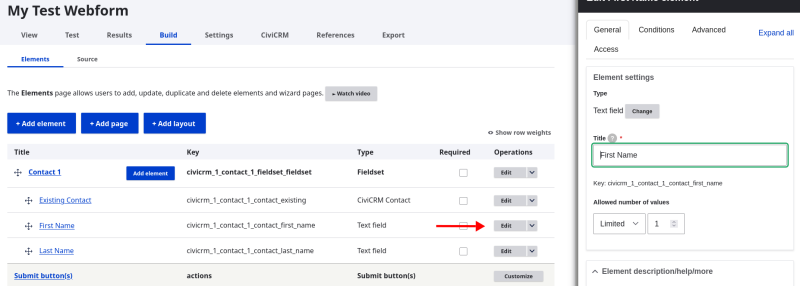
Click the "Edit" link next to a field you would like to change. The edit screen pops up on the right. You can make the field required, add help text and edit many other settings.
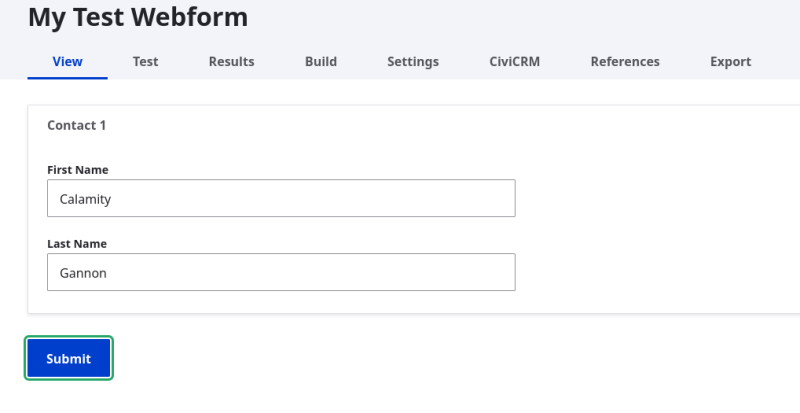
Testing
Once you have your fields in place, click the "View" tab to see your form and try filling it out.
Less common tasks
Choose a different theme and URL
If you want your webform to be public and you'd like it to show up with your logo and a friendlier link, click the "Settings" tab:
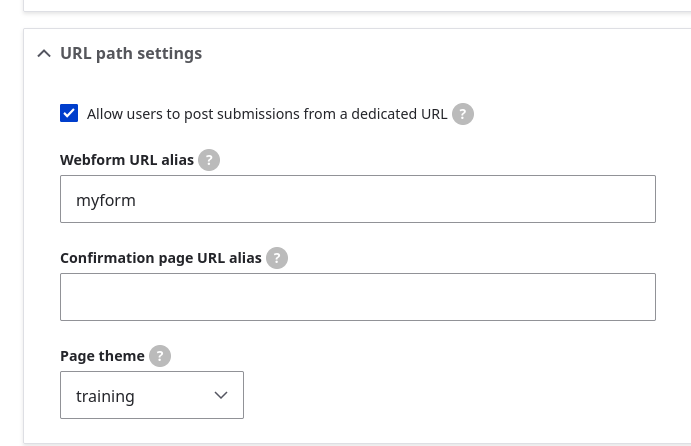
In the "URL alias" fields you can enter a short name, which will make your webform accessible via: https://YOURSITE.ourpowerbase.net/SHORTNAME.
And, from the Theme drop down, choose the theme you would like to use with your form.
View results
If all of your fields are Powerbase/CiviCRM fields, there is no need to look at the results from Webform. You can find them all by searching in Powerbase.
However, if you would like to see the list of results, click the "Results" tab where you will find a listing of your results and the ability to export them as a CSV file.
Send emails
If you would like to trigger an email to be sent every time a form is filled out, click the "Settings" tab, then click "Emails/Handlers".
Then click "Add email".